PETAPETA School of Nightmares Walkthrough
Levels 1–4 escape routes: key hunts, glass breaks, teleport holes, and Mini PETAPETA.
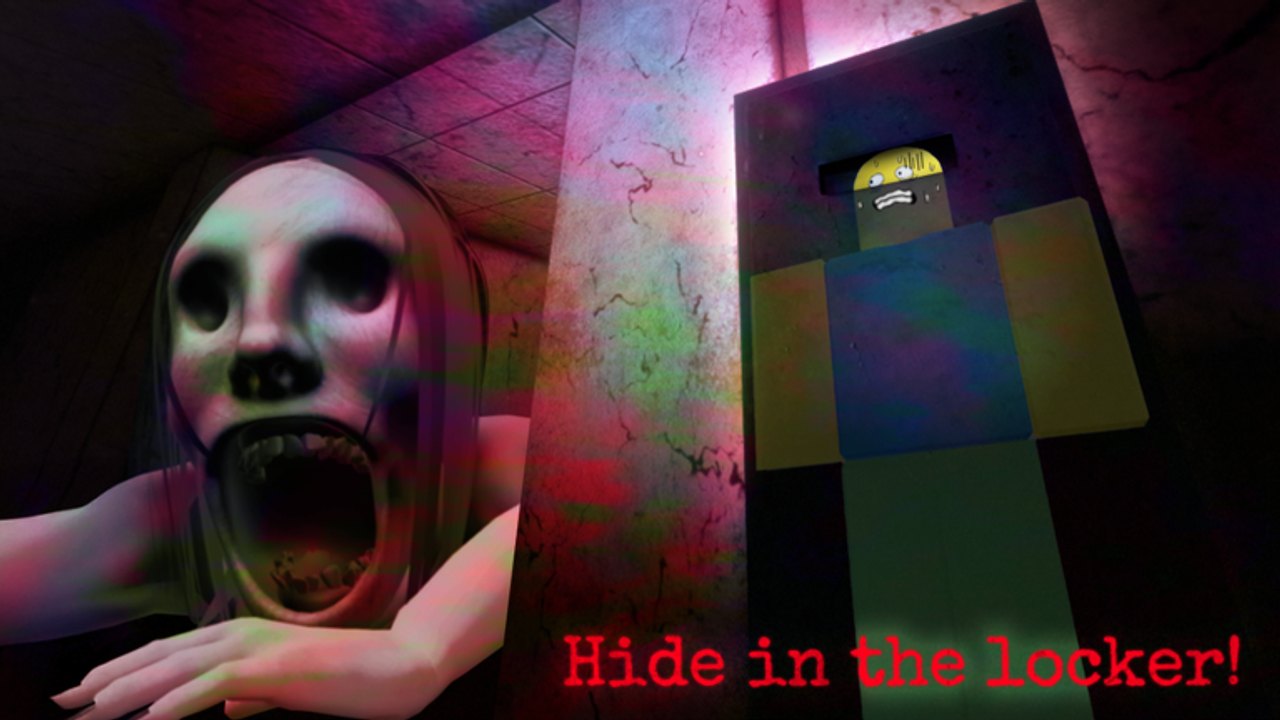
This walkthrough covers PETAPETA: School of Nightmares from a clean lobby start through levels 1–4. The game is Roblox online co-op from Omochi Studio (released 7 October 2024, place 110280222997707). You explore an abandoned Japanese school, gather the right keys, match handle symbols to courtyard padlocks, and escape while PETAPETA hunts the halls. You cannot kill her — Stun only buys seconds.
If you are brand new, skim Getting Started first. Pair this page with How to Find Keys and How to Hide. When you are ready for payouts and difficulty, open Cursed Shards, the Skill Planner, and Hard Mode. Competitive lobbies are covered in PvP. Use the Guides Hub as your index, PETAPETA for threat notes, plus Codes, Scripts, Tier List, Gamepasses, Updates, and the Wiki hub.
Shared loop for every level
- Step on lobby red squares to start.
- Move with WASD, interact with E, crouch with C, sprint with Left Shift (stamina).
- Check the Safe Room TV for the next key room (example: classroom 1-A).
- Read both-floor maps for classroom numbers and locker clusters.
- Collect glowing keys from floors, lockers, and tables.
- Match each handle symbol to the correct courtyard / exit padlock. Wrong Key means try another lock or another key.
- When chase audio and a reddening screen begin, hide in a school locker before the scream/shake beat.
- Escape only after every required lock is open. Solo needs three keys; larger parties need more keys and more locks.
Wear headphones and push graphics as high as your machine allows. Flashing lights are intentional — pause if they bother you.
Level 1 — Find the keys
Level 1 is the pure puzzle: no glass gimmick, no teleports, no Mini PETAPETA. Treat it as your training map.
Route mindset: Safe Room TV first, then the hinted classroom wing, then adjacent lockers, then tables in open rooms. Do not empty every locker on the opposite floor while a TV hint is sitting unused. Carry one key at a time to the courtyard if your group is disorganized; coordinated teams can ferry multiple keys but must still match symbols carefully.
Pressure management: PETAPETA still patrols. A level 1 death is usually a stamina mistake or a late locker entry, not a missing gimmick. Practice Stun as a delay into a hide, then finish the remaining locks.
Shard note: Grab Cursed Shard orbs while you sweep. Default capacity is 150. Escaping keeps the full amount; dying keeps about 20%. Survivors can receive shards from teammates who fall.
Level 2 — Break glass and doors
Level 2 keeps the key-and-padlock fantasy but blocks some spawns behind glass or doors you must break. Interact with E on the barrier, clear the path, then claim the glowing key beyond.
Practical tips:
- Break only what the route needs. Random destruction wastes time and can pull attention while a chase window is closing.
- After breaking glass, immediately scan for the golden glow — keys still sit on floors, lockers, and tables once the barrier is gone.
- If the Safe Room TV points to a sealed classroom, break in there before you roam far wings.
- Keep one locker exit plan on the approach path so you are not trapped in a dead-end after the break animation.
Level 2 is where stamina upgrades start mattering. Sprinting from a broken door to a distant padlock without a hide spot is how promising runs end. See How to Find Keys for symbol discipline after you crack a room open.
Level 3 — Teleport holes
Level 3 adds teleport holes between rooms. The important rule is spatial, not combat: entering a hole marked for one letter can drop you into another room entirely. The classic teaching example is an A hole leading into a C room where a key waits.
How to play teleports:
- Treat holes as intentional shortcuts, not panic buttons. Note which letter you enter and which room you expect.
- After a teleport, re-orient with the floor map before you sprint. Many players die because they exit a hole into PETAPETA’s path while still adjusting the camera.
- Use teleports to cut travel after a Safe Room hint, then hide if chase cues start mid-corridor.
- Call teleports in co-op so teammates do not assume you are still on the previous floor.
If a hole lands you somewhere without an obvious glow, check lockers and tables immediately — the spawn may be in the destination room, not the origin.
Level 4 — Mini PETAPETA
Level 4 introduces Mini PETAPETA. Getting caught collapses you and drains your powers. That turns a single mistake into a long recovery: weaker stun, worse stamina feel, and higher odds of a second catch.
Level 4 priorities:
- Hide earlier than you did on levels 1–3. Footsteps plus a reddening screen should already have you inside a locker.
- Do not greed shard pickups in open hallways when Mini PETAPETA pressure is high.
- Stun is for creating a locker window, not for farming aggressive plays after powers are drained.
- Finish padlocks methodically. A Wrong Key spam after a collapse often ends the run.
Study chase timing on How to Hide and enemy behavior on PETAPETA before you grind level 4 on Hard or Super Hard.
Difficulty modes inside the same walkthrough
Once you can clear levels on the default difficulty, spend 3000 Cursed Shards in the Skill up tab for Hard (+50% shards) or Super Hard (+100% shards). The core key-matching fantasy remains, but the shard economy and mistake cost climb. Read Hard Mode before you buy either unlock, and plan stamina, stun, speed, capacity, and auto-loot with the Skill Planner.
Co-op walkthrough habits
- Assign a Safe Room watcher who relays TV text to the group.
- Split floors only after everyone understands the current key target.
- Deliver matched keys to the courtyard as a pair when Mini PETAPETA is active — one runner, one lookout.
- If a teammate collapses on level 4, stabilize with hides and Stun before you resume shard farming.
After you clear all four levels
Return to the Guides Hub for any tutorial you skipped, farm smarter with Cursed Shards, and track patches on Updates. Redeem Codes, evaluate Gamepasses and the wider Tier List, and keep official links on the Wiki hub. When lobbies turn competitive, switch to PvP with the same hide-and-match fundamentals.
Clearing School of Nightmares is repetition under pressure: red squares, TV hint, glow search, symbol match, locker hide, gate open. Levels 2–4 only add barriers, teleports, and Mini PETAPETA on top of that spine. Master the spine on level 1, then layer each gimmick without abandoning Safe Room discipline.
Frequently Asked Questions
Quick answers for School of Nightmares players.
What is different about each level in PETAPETA School of Nightmares?
Level 1 is a plain key hunt. Level 2 requires breaking glass or doors. Level 3 uses teleport holes between rooms. Level 4 adds Mini PETAPETA that collapses you and drains powers if you are caught.
How do level 3 teleport holes work?
Holes move you between rooms. For example, entering an A hole can place you in a C room where a key may spawn. Re-orient with the map after every teleport.
What happens if Mini PETAPETA catches me?
You collapse and your powers are drained, which weakens follow-up plays. Hide earlier and use Stun only to reach a locker.
Do solo and co-op need the same number of keys?
Solo needs three keys matched to three locks. More teammates increase both the key count and the number of exit padlocks.
Should I watch the Safe Room TV every level?
Yes. The TV still points to the next key location, and floor maps still show classroom numbers and lockers on every stage.
When should I turn on Hard or Super Hard?
After you can clear levels 1–4 comfortably and have upgraded core skills. Each mode costs 3000 Cursed Shards and raises shard payouts.