PETAPETA School of Nightmares PETAPETA Guides Hub
Keys, levels, hiding, shards, and Hard Mode — every tutorial for School of Nightmares.
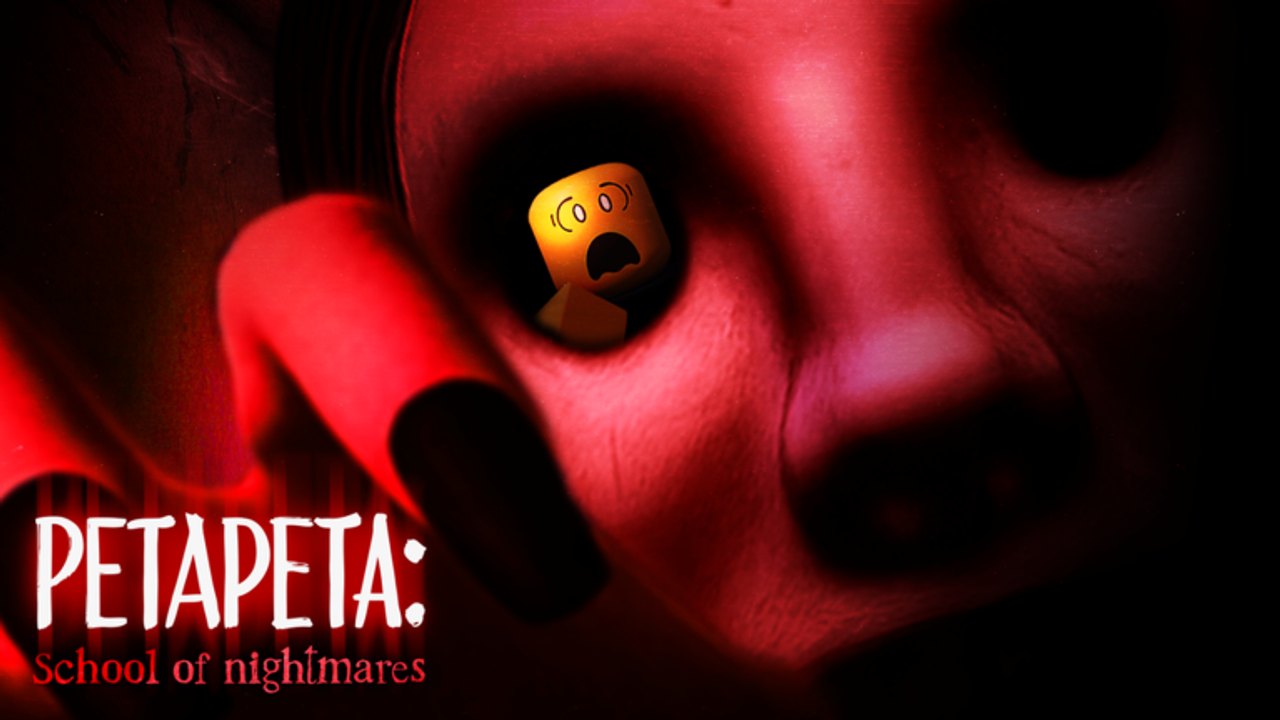
Welcome to the Guides Hub for PETAPETA: School of Nightmares, the Roblox horror escape experience from Omochi Studio. Released on 7 October 2024 (place 110280222997707), the game drops you into an abandoned Japanese school where the tagline hits hard: It’s the same but another PETAPETA. Your job is simple to say and hard to live: find the correct keys, match each handle symbol to the matching padlock on the courtyard exit gate, and escape before she catches you.
This hub is the map of every practical tutorial on the wiki. Start with Getting Started if you have never stepped on a lobby red square. Jump to the full walkthrough when you are ready for levels 1–4. Use How to Find Keys when you keep picking the wrong lock. Branch into How to Hide, Hard Mode, Super Hard, PvP, Archives, Controls, and Cursed Shards once survival feels stable. Use the school map when you lose a classroom number.
What you are actually doing
School of Nightmares is online co-op that also works solo. Solo runs ask for three keys. Bring teammates and the school scales: more players means more keys and more locks on the exit. Keys spawn with a golden glow on floors, inside lockers, and on tables. Each key carries a symbol on the handle. That symbol must match a padlock on the courtyard or exit gate. A mismatch prints Wrong Key — put it back and keep searching.
You cannot kill PETAPETA. The Stun skill only delays her. When a chase starts, listen for footsteps, watch the screen redden, and expect a scream or shake right before she arrives. Duck into school lockers. Treat the Safe Room as your planning desk: its TV shows the next key location (for example classroom 1-A), and floor maps mark classroom numbers and locker clusters.
Recommended reading order
- Getting Started — lobby red squares, WASD / E / C / Shift, first escape loop.
- How to Find Keys — spawn logic, symbol matching, Safe Room TV, locker sweeps.
- How to Hide — chase audio cues and locker timing.
- Walkthrough — level gimmicks from plain key hunts to Mini PETAPETA.
- Cursed Shards and the Skill Planner — stamina, stun, speed, capacity, auto-loot.
- Hard Mode — spend 3000 shards for Hard (+50% shards) or Super Hard (+100%).
- PvP — when lobby pressure turns competitive.
Cross-check threat behavior on the PETAPETA player page, redeem gifts on Codes, skim tools on Scripts, compare unlocks on the Tier List and Gamepasses, watch Updates, and keep official links on the Wiki hub.
Levels at a glance
| Level | Extra pressure |
|---|---|
| 1 | Find keys — no extra gimmick |
| 2 | Break glass or doors to reach keys |
| 3 | Teleport holes between rooms (example: A hole leads into C room) |
| 4 | Mini PETAPETA — getting caught collapses you and drains powers |
Headphones and max graphics help you hear chase cues early. Expect flashing lights; take breaks if needed.
Cursed Shards and the Skill up tab
Cursed Shards appear as orbs in rooms and lockers. Default carry capacity is 150. Escape with a full haul for the full payout; die and you keep about 20%. Surviving teammates can receive shards from players who fall. Spend them in the Skill up tab on stamina, stun, speed, capacity, auto-loot, plus Hard and Super Hard unlocks at 3000 each. Plan spends before you grind Hard Mode so you are not stuck with a full inventory and weak stun.
Co-op habits that save runs
Call out classroom numbers from the maps. One player watches the Safe Room TV while others sweep lockers on that floor. Never sprint the entire route — Left Shift burns stamina you need for the final courtyard dash. If PETAPETA is between you and a padlock, hide first, then deliver the matching key. Wrong Key spam wastes the window after a successful hide.
How this hub stays useful
Every guide here is written for search intent players actually type: how to start, how to find keys, how to hide, how to beat level 3 teleports, how to farm shards, how Hard Mode changes the payout. Use the video above for a visual pass of modes and levels 1–4, then return to the text guides for checklists you can keep open on a second monitor.
When a patch shifts spawns or skills, check Updates and re-open the relevant guide rather than guessing. The school layout stays familiar; the pressure curve does not.
Ready for day one? Open Getting Started and Controls, then chain into keys, hiding, and the walkthrough before Hard Mode and Super Hard. Spend leftover shards on Archives only after stun exists. Use the school map when classroom numbers blur.
Frequently Asked Questions
Quick answers for School of Nightmares players.
Where should a new PETAPETA School of Nightmares player start?
Read Getting Started for lobby red squares, controls, and the first escape loop, then How to Find Keys and How to Hide before attempting Hard Mode.
How many keys do I need to escape?
Solo needs three keys matched to three padlocks. Extra teammates increase both the key count and the number of exit locks.
Can I defeat PETAPETA in combat?
No. You cannot kill her. Use Stun only to delay, then hide in lockers when footsteps and screen reddening start.
What does the Safe Room TV do?
It shows the next key location, such as classroom 1-A. Pair that hint with the floor maps that mark classroom numbers and lockers.
What are Cursed Shards used for?
Spend them in the Skill up tab on stamina, stun, speed, capacity, auto-loot, and the 3000-shard Hard or Super Hard unlocks.
Which guide covers levels 1 through 4?
The Walkthrough page explains level 1 key hunts, level 2 glass and doors, level 3 teleport holes, and level 4 Mini PETAPETA.