Hard Mode in PETAPETA School of Nightmares
Pay 3000 Cursed Shards per difficulty, host carefully, and convert risk into +50% or doubled shard payouts.
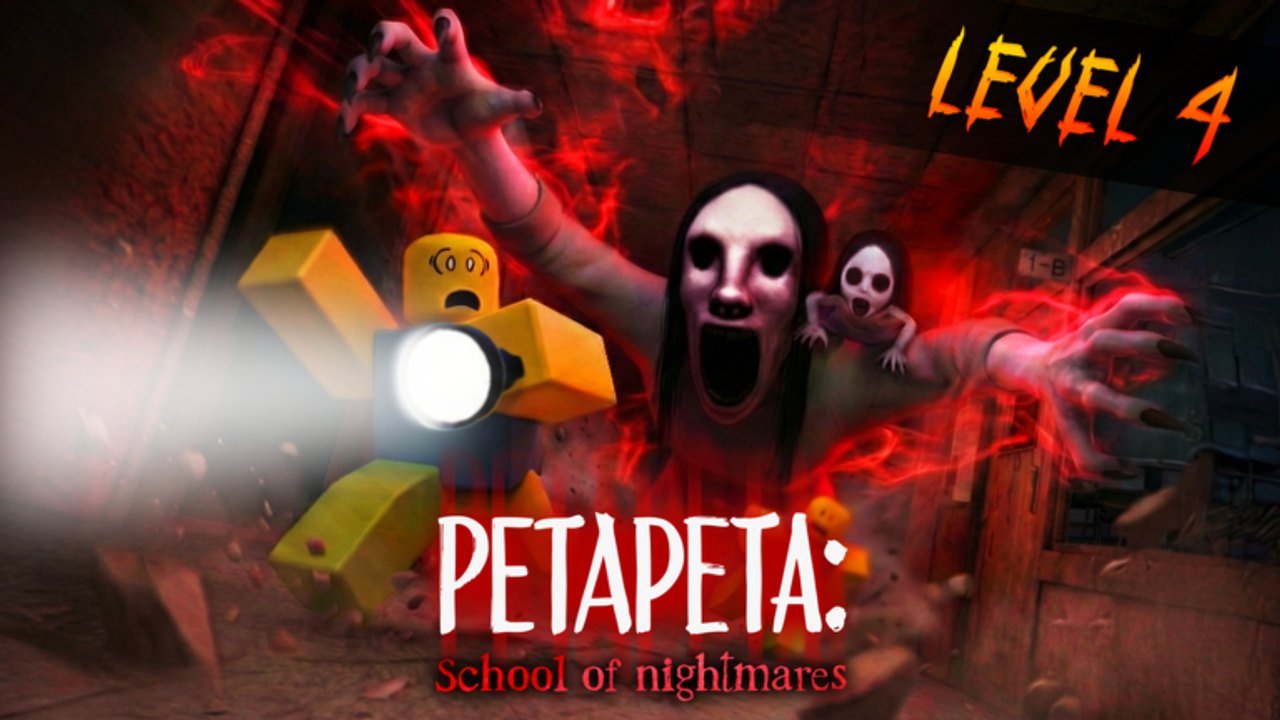
Hard Mode and Super Hard Mode are the main replay ladders in PETAPETA School of Nightmares. Each costs 3000 Cursed Shards in the skill tree, each makes PETAPETA faster and more dangerous when you host, and each pays better shard returns if you escape. This page covers unlock costs, host rules, visual tells, level difficulty letters, Mini PETAPETA on level 4, and a sensible spend order so you do not unlock Hard while still dying to basic locker mistakes. Read How to Hide and Cursed Shards first if your Normal clears are still inconsistent.
Unlocking Hard and Super Hard
Both difficulties sit on the skill tree for 3000 Cursed Shards each. Unlock Hard before Super Hard. Treat the purchase as an economy investment, not a prestige badge: you want enough shard capacity, a reliable stun, and comfort with locker timing before you pay. Use the skill planner to map the path so you are not stuck with Hard unlocked and a 150-cap inventory that cannot fund the next nodes.
Hosting a harder lobby is what actually raises PETAPETA’s threat. When the host selects Hard or Super Hard, she moves faster and becomes generally more dangerous for everyone in that session. If you join someone else’s Normal lobby, you will not suddenly get Hard rules just because you own the unlock. Coordinate difficulty in party chat before the run starts.
Shard multipliers that justify the risk
Hard Mode grants +50% Cursed Shards. Super Hard doubles shard earnings. A simple example from clear payouts: if a Normal escape would bank 150 shards at cap, Hard pays 225, and Super Hard pays 300. Those multipliers stack with the usual escape rules—full keep on escape, heavy loss on death—so surviving the harder lobby matters more than greed-looting every classroom.
Farming strategy shifts after unlock. Short, clean Hard clears with full escapes beat long Super Hard wipes that return a fraction of collected orbs. Duo or trio clears that keep the whole team alive also share survivor shards more efficiently. Pair Hard farming with codes and seasonal updates when bonus events overlap, but never rely on events alone—the multiplier is the permanent reason to play Hard.
How PETAPETA looks on harder difficulties
Player reports describe clear visual escalation. On Hard Mode, PETAPETA grows small horns and more pronounced pupils. On Super Hard, she shows full red eyes and twisted skin. Use those tells as confirmation that you are on the difficulty you intended, especially when hopping public lobbies. If the model looks Normal but the host claimed Super Hard, leave and rehost rather than learning mid-chase.
Faster movement means your hide windows shrink. Footsteps arrive sooner, the red-screen warning compresses, and sprint mistakes punish harder. Crouch for short quiet moves, keep stamina in reserve, and stay glued to locker walls while searching keys. Review how to find keys so you are not wandering open halls under Hard pressure.
Level difficulty letters
School of Nightmares scales encounter letters by both stage and selected mode. On Normal, expect roughly: Level 2 = D, Level 3 = C, Level 4 = B. Hard pushes those letters higher across the run. Super Hard peaks with Level 4 at S. Treat the letter as a planning signal: higher letters mean tighter hide discipline, fewer greedy shard detours, and stricter key routes from the walkthrough.
Level 4 also introduces Mini PETAPETA. Getting caught by Mini PETAPETA collapses you. Collapse is not a soft slap—it removes you from active looting and can doom a team that needed one more key at the gate. On Hard and Super Hard level 4, prioritize awareness of Mini spawns over vacuuming every orb. Call Mini sightings early in co-op so teammates do not funnel into the same trap.
Recommended unlock order
- Raise Cursed Shard capacity so successful runs bank more than the default 150.
- Take stun so you can break a chase when locker timing fails.
- Add speed and stamina support for Hard’s faster PETAPETA.
- Unlock auto-loot or magnet helpers if you play on mobile.
- Spend 3000 on Hard Mode, farm until comfortable, then spend another 3000 on Super Hard.
Skipping straight to Hard with a tiny cap and no stun is the most common progression trap. You will die more, keep only a slice of shards on death, and feel like Hard is “not worth it” when the real problem is unfinished fundamentals. Details on spend priority live on Cursed Shards and Archives costs if you also buy lore entries.
Hosting tips for Hard lobbies
As host, state difficulty before teleporting into the school. Confirm everyone owns the unlock mindset—even if unlocks are account-side, not every teammate wants Super Hard practice. Start Hard with players who already clear Normal level 4 without panic. Keep one person near the safe-room information loop when your group uses TV key hints, and keep the runners on locker-rich wings.
If the lobby is struggling, drop back to Normal for a recovery farm instead of forcing Super Hard pride wipes. The shard tree does not care about your ego; it cares about net shards per hour. Featured Hard clears also feed into how you evaluate tools on the tier list and how you approach PvP when Super Hard rules appear there too.
Survival checklist for Hard clears
- Pre-mark locker clusters before opening center desks.
- Never dump stamina in an open hallway.
- Leave lockers only after footsteps fully fade.
- On level 4, respect Mini PETAPETA collapse risk over shard greed.
- Escape with the team when possible so survivor shard sharing pays.
- Bank shards into capacity and stun before buying cosmetics or extra Archives pages.
Related pages
Return to Getting Started if controls still feel shaky. Study monster patterns on PETAPETA. For competitive modes that now include Super Hard options, read PvP Ranked. Quality-of-life scripts are listed under Scripts. The Guides Hub links every tutorial in one place.
Hard Mode is optional power, not a wall. Buy it when your hide habits and shard economy can absorb the speed spike, then use the +50% and double payouts to accelerate the rest of the skill tree without burning out on Normal grinds.
Frequently Asked Questions
Quick answers for School of Nightmares players.
How much do Hard Mode and Super Hard Mode cost?
Each costs 3000 Cursed Shards in the skill tree. Unlock Hard first, then Super Hard after you can consistently escape Hard lobbies.
How many extra shards do Hard and Super Hard give?
Hard Mode gives +50% shards. Super Hard doubles shard earnings. Example: 150 on Normal becomes 225 on Hard and 300 on Super Hard when you escape at that baseline.
Does hosting Hard Mode change PETAPETA?
Yes. Hosting harder modes makes PETAPETA faster and more dangerous for the lobby. Confirm difficulty before the run so everyone expects the same threat level.
How can I tell Hard and Super Hard apart visually?
Player reports say Hard Mode PETAPETA grows small horns and sharper pupils, while Super Hard shows full red eyes and twisted skin. Use the model as a lobby sanity check.
What happens on level 4 with Mini PETAPETA?
Mini PETAPETA appears on level 4 and collapses you if she catches you. On Hard and Super Hard, treat Mini awareness as higher priority than vacuuming every shard orb.
What are the Normal mode level difficulty letters?
On Normal, Level 2 is D, Level 3 is C, and Level 4 is B. Hard raises those letters; Super Hard can push Level 4 to S.