PETAPETA School of Nightmares Planning Tools
Written planners and checklists—no fake calculators—so every cursed shard pushes extract rate.
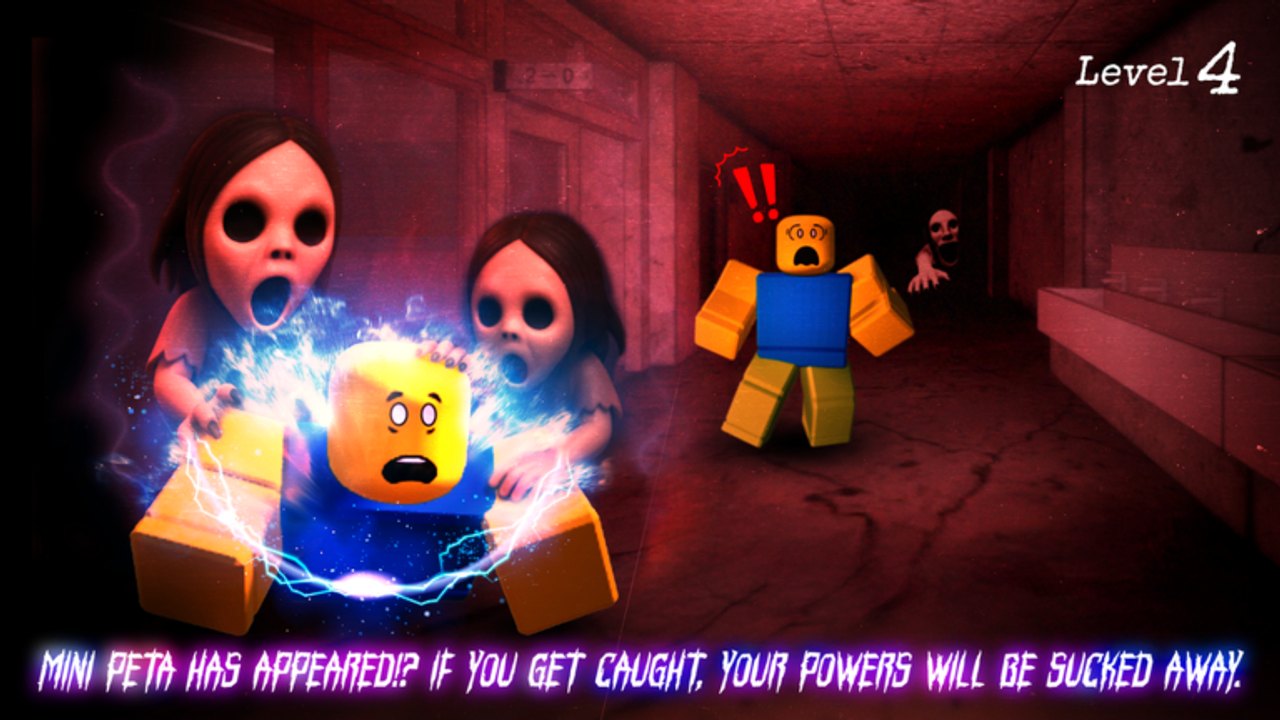
The Tools Hub collects practical planners for PETAPETA: School of Nightmares. Nothing here pretends to be a live JavaScript damage calculator—PETAPETA has no DPS bar to solve. What you need is a spend order, example shard budgets, and clear links into the systems those spends unlock. The featured tools are the Skill planner (Capacity through Stun, movement, auto-loot, Hard, Super Hard, Archives) and the school map for Safe Room TV codes, two floors, and locker rows.
Use this hub before a grind session. Skim the planner, confirm ranks on the Tier List Hub, then queue Normal or Hard with a target node in mind. Pair tools with Cursed shards, Hard mode, Getting Started, and the PETAPETA dossier so numbers stay attached to real chase pressure.
What belongs under Tools
| Tool | Type | Best for |
|---|---|---|
| Skill planner | Written spend order + example budgets | Every account from first extract to Super Hard |
| Cross-links to Tier List | Rank rationale | Arguing S/A/B/C decisions |
| Cross-links to Gamepasses | Robux value | Deciding Thermal Scope vs free skill path |
Future checklists (locker routes, PvP hunter notes) should live as guides; this category stays focused on planning artifacts that change how you spend shards or Robux between runs.
Why a written planner beats a fake calculator
School of Nightmares progression is gated by cursed shards you only fully bank on successful extracts (deaths keep a fraction). Capacity caps how many orbs matter per run. Community planning figures when capacity is still low look like ~150 shards per Normal extract, ~225 on Hard, and ~300 on Super Hard—useful budgeting anchors, not physics constants. A slider app that invents DPS would lie. A ordered list that says “Capacity before auto-loot” tells the truth.
The planner’s spine:
- Shard Capacity
- Stun (first node, then duration/charges over range)
- Speed
- Stamina
- Auto-loot
- Hard unlock (3000)
- Super Hard unlock (3000)
- Archives lore spends
That order matches the September 2026 practical tier list: S for Capacity and Stun, A for Speed and Stamina, B for auto-loot and starter perks, C for cosmetic QoL. Details and “why” live on Tier List; the click-by-click spend narrative lives on Skill planner.
How to run a planning session
- Check your current capacity and whether stun exists at all.
- Open the skill planner and mark the next two nodes you will buy—no more.
- Estimate runs needed using the budget examples (150 / 225 / 300 style figures if caps are low).
- Play the Walkthrough route that matches your chapter; do not invent side objectives mid-chase.
- After extracts, buy only the marked nodes. Dumping a full bag into Archives early stalls Hard forever.
- When Normal extracts feel boringly consistent, pay 3000 for Hard; repeat the consistency test before Super Hard.
Optional Robux (Thermal Death Scope, flashlight, starting lobbies) is evaluated on Gamepasses ranked. Tools do not recommend buying skips until the free tree’s S tier is online—unless you knowingly want pay-to-skip.
Linked systems every tool assumes
- Hunter pressure: Players Hub, PETAPETA, PvP
- Economy: Cursed shards
- Difficulty: Hard mode
- Onboarding & routes: Getting Started, Walkthrough
- Live changes: Updates, Codes, Scripts, Wiki links
Keeping tools honest
When Omochi Studio adds skill nodes or retunes shard payouts, update the planner and the tier hub together. Do not leave Tools claiming Capacity is king while Tier List silently promotes a new perk. Fact alignment across pages matters as much as word count.
If you only open one child page from this hub, open the Skill planner. It is the practical answer to “what do I click next with this bag of cursed shards?”—and it stays useful from your first Normal clear through Super Hard Archives cleanup.
Frequently Asked Questions
Quick answers for School of Nightmares players.
Is the skill planner an interactive calculator?
No. It is a written recommended spend order with example shard budgets. PETAPETA has no DPS sheet to calculate—capacity, stun, and extracts drive progress.
What budgets does the planner use?
Example figures when capacity is not heavily upgraded: about 150 shards per Normal extract, about 225 on Hard, and about 300 on Super Hard. Treat them as planning anchors, then adjust to your live cap.
What should I unlock first?
Shard Capacity and Stun (duration/charges over range), then Speed and Stamina, then auto-loot. Unlock Hard and Super Hard for 3000 shards each only after consistent extracts. Full path: Skill planner.
How do Tools relate to the tier list?
Tools tell you the order to buy; the Tier List Hub explains why each rank exists. Read both so you do not buy B-tier comfort before S-tier capacity.
Should I buy gamepasses instead of using the planner?
Usually no. Passes are optional—see Gamepasses ranked. Thermal Scope can help new players, but Normal clears do not require Robux.