How to Find Keys in PETAPETA School of Nightmares
Golden glows, handle symbols, Safe Room TV hints, locker sweeps, and Wrong Key recovery.
Keys are the entire win condition in PETAPETA: School of Nightmares. Omochi Studio’s Roblox horror escape (released 7 October 2024, place 110280222997707) asks you to explore an abandoned Japanese school, collect the right keys, match each handle symbol to a courtyard or exit padlock, and leave before PETAPETA ends the run. This guide focuses only on finding and using keys correctly — the skill that separates clean escapes from endless Wrong Key loops.
New to the lobby? Read Getting Started for red-square starts and controls. For stage gimmicks, open the Walkthrough. Pair key routes with How to Hide, then spend rewards via Cursed Shards, the Skill Planner, and Hard Mode. Browse the Guides Hub, PvP, PETAPETA, Codes, Scripts, Tier List, Gamepasses, Updates, and the Wiki hub as needed.
What a key looks like and where it spawns
Keys spawn with a golden glow. Check three places every time:
- Floor — corners, beside desks, near hallway junctions.
- Lockers — open school lockers with E and scan shelves.
- Tables — classroom desks and utility tables often hide a glow at edge height.
Because spawns vary between runs, memorize search order instead of a single fixed path. A good default sweep is Safe Room TV hint → mapped classroom → that room’s lockers → neighboring tables → adjacent hallway floor.
Symbol matching beats inventory panic
Every useful key has a symbol on the handle. The courtyard / exit gate uses padlocks that expect specific symbols. Match symbol to padlock. If the game prints Wrong Key, stop spamming. Either you have the wrong key for that lock or you are at the wrong lock for that key. Carry the key back into the school, continue searching, and return when you have the correct pairing.
Solo needs three keys for three locks. Bring more teammates and the school asks for more keys and more locks. Count required locks at the gate when the run starts so your team does not escape-attempt early.
Use the Safe Room TV like a compass
The Safe Room is not only a breather. Its TV shows the next key location, often as a classroom code such as 1-A. Treat that text as your primary objective. Both floors have maps that mark classroom numbers and locker areas — translate the TV string into a map pin, then move.
TV workflow:
- Enter Safe Room when you are unsure, not only when you are dying.
- Read the hint aloud in co-op so everyone shares one target.
- Path through lockers that sit on the way to that classroom instead of clearing the opposite wing first.
- After you secure a key, decide whether to deliver it immediately or stash progress and pull the next TV hint.
If PETAPETA is camping the route from Safe Room to the hinted class, hide first. A correct key in a corpse inventory helps nobody.
Locker search discipline
Lockers do double duty: they hide keys and they hide you. When you open a locker for loot, finish the interact quickly and close your search before chase cues escalate. When footsteps build and the screen reddens, abandon the sweep and enter a locker for survival — the scream/shake beat means she is about to arrive. You cannot kill PETAPETA; Stun only delays her so you can finish a hide or a short delivery.
A practical habit: search lockers in clusters of three to five, then reassess audio. Marathon locker opening across an entire hallway is how players miss the reddening screen.
Level-specific key obstacles
| Level | Key-finding twist |
|---|---|
| 1 | Standard glow search — no extra barrier |
| 2 | Break glass or doors with E before some keys become reachable |
| 3 | Use teleport holes (example: A hole → C room) to reach the correct spawn room |
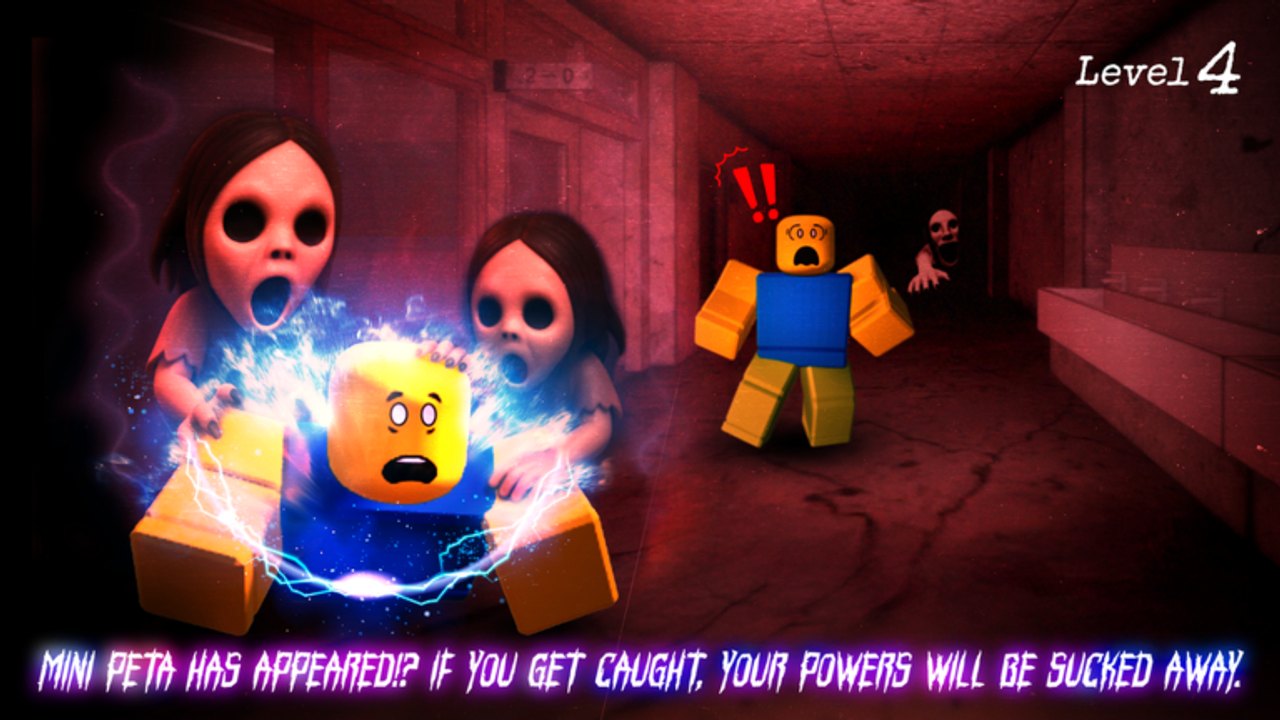
| 4 | Same spawn rules, but Mini PETAPETA collapses you and drains powers if caught |
On level 2, break only the barrier that blocks the hinted key. On level 3, confirm which letter hole you enter so you do not teleport away from the TV target. On level 4, prefer short search bursts with guaranteed locker exits. Full stage flow lives in the Walkthrough; this page stays focused on recognition and matching.
Co-op key roles that actually work
- Caller — camps Safe Room long enough to relay TV text and map numbers.
- Sweeper — opens lockers and checks tables in the hinted zone.
- Runner — carries confirmed keys to matching padlocks and returns empty-handed.
- Lookout — watches chase cues while others interact, especially on level 4.
Never let four players all carry unmatched keys to the gate at once. One Wrong Key animation in a crowded courtyard can wipe the delivery window.
Shards while you search
Cursed Shard orbs appear in rooms and lockers alongside keys. Default carry capacity is 150. Escape for the full amount; die for about 20%; survivors can receive shards from fallen teammates. Spend shards in Skill up on stamina (longer searches), stun (safer deliveries), speed, capacity, auto-loot, and later the 3000-shard Hard (+50% shards) or Super Hard (+100% shards) unlocks. Auto-loot and capacity matter most for players who refuse to leave orbs behind during key routes — plan them in the Skill Planner and Cursed Shards guide before Hard Mode.
Troubleshooting a dry search
- Re-read the Safe Room TV; your team may be clearing the wrong floor.
- Re-check tables at camera height — glows are easy to miss against dark props.
- Open lockers you assumed were empty after a teleport reshuffle on level 3.
- Break remaining glass in the hinted room on level 2 before you declare the spawn missing.
- Confirm you still need another key; count open padlocks at the courtyard.
- If chase pressure is constant, stabilize with hides from How to Hide before another sweep.
Controls reminder for key interacts
WASD moves, E interacts with keys, lockers, glass, doors, TV, and padlocks, C crouches, Left Shift sprints on stamina. Start runs by stepping on lobby red squares. Headphones help you hear chase footsteps while your eyes stay on glow spots.
Master key finding and every other system gets easier: Getting Started stops feeling abstract, the Walkthrough becomes a gimmick checklist, and Hard Mode becomes a payout choice instead of a brick wall. Keep this page open until Wrong Key is rare and Safe Room TV hints feel automatic, then return to the Guides Hub for the next tutorial in your queue.
Frequently Asked Questions
Quick answers for School of Nightmares players.
Where do keys spawn in PETAPETA School of Nightmares?
Keys spawn with a golden glow on floors, inside school lockers, and on tables. Exact spots change between runs, so follow Safe Room TV hints.
What does Wrong Key mean?
The handle symbol does not match that padlock. Stop forcing the interact, find the matching lock or another key, and try again.
How does the Safe Room help me find keys?
The Safe Room TV shows the next key location, such as classroom 1-A. Floor maps mark classroom numbers and locker areas so you can path correctly.
How many keys do I need?
Solo escapes need three matched keys. More teammates increase both the number of keys required and the number of exit padlocks.
Why can I see a room but not reach the key on level 2?
Level 2 often places keys behind glass or doors you must break with E before the glow becomes reachable.
Do teleport holes on level 3 hide keys?
Teleports move you between rooms where keys may spawn. For example, an A hole can send you into a C room that holds the next key.